

LY-A12D Digital Lens radian tester

Product Name:
LY-A12D Digital Lens radian testerModel No.:
LY-A12DMinimum Order:
1
Product Abstract:
All kinds
- Product Description
N:1.49/1.53/1.56/1.599/1.61/1.67/1.71/1.74
Technical Parameters: 1)Measuring Scope: ±2000 2)Resolution: 25 3)Power Supply: 3V(LR44/SR44 Two 1.5V button batteries) 4)Operating Temperature: -10~50℃ 5)Storage Temperature: -20~70℃ 6)Operating Humidity: ≤80% Instructions: A)“ON/Z” 1) short press to turn on/off,auto power ON/OFF. 2) Long press 2-3 seconds to set to zero B)“ U” : 1)short press to switch the relative refractive index: 1.49 →1.53→1.56→1.59→1.61→1.67→1.71→1.74 2)Long press for 3 seconds to restart. C) “CALC”: Calculate the curviness of lens. 1)Measure the one side of lens and press “CALC” to record the data, when “CALC+” or “CALC-” flashes, measure the other side. 2)Press “CLAC” to measure the other side, undo “CALC”
will display the final actual degree of lens.3)Short press “CALC” and display “----” to exit. Measure other lens when “CLAC” disappear. D)Auto power on/off Auto power on in 1 second after moved the measuring point
Auto power off when the measuring point static for 1 minute.E)Low battery warning: when the batteries under 2.3V, it will flash the battery symbol, and please replace batteries. CAUTIONS: 1)First use or after replace the batteries, please long press button U to restart the gauge, and avoid to touch the measuring point. 2)The gauge has factory settings, no need to set to zero if the measuring point hasn’t been adjusted.
When it is a large numerical error, please try restart the gauge, if failure, then reset it.3)When replacing the batteries, please replace both at the same time, to preserver battery life. 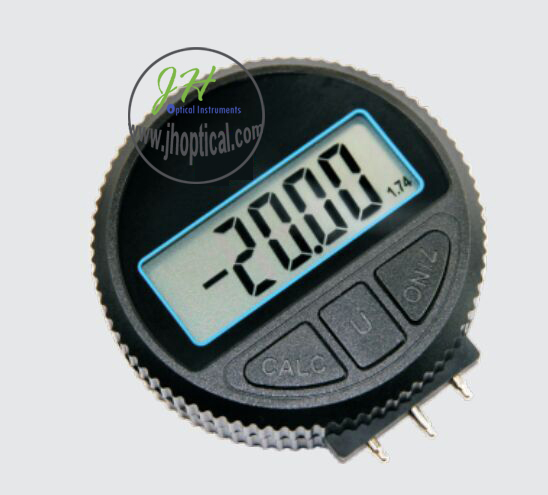
- Related Products
-
LY-878C Lens thickness tester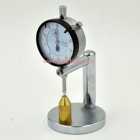
-
LY-878B Digital Lens thickness tester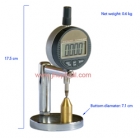
-
LY-878 Normal Lens thickness tester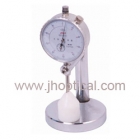
-
LY-A12A Mechanical Lens radian tester
-
LY-A13A Mechanical Lens thickness tester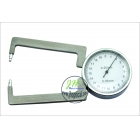
-
LY-A12D Digital Lens radian tester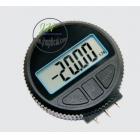
-
3112-1030 Mechanical Lens radian tester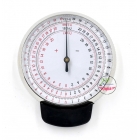
-
3113-1050 Stainless steel lens clock testing block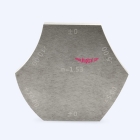
-
LY-A12 White lens clock,radian apparatus
- [Return Home] [Print] [Go Back]
Contact Us
Contact:
Mr. Li YiyangTel:
+86 15001978117Fax:
+86-21-50301363E-mail:
jiahe@jhoptical.com-


